Coating Curing and Oven Settings
Whether you are applying thermoset or thermoplastic coatings, one of the key processes in determining the effectiveness of the coating is the curing process itself. From the temperature used in the curing process to the length of time it takes, curing can shape the final properties of the coating, including how well it adheres to the substrate, how long it will last, and so on.
Getting the curing process right means extracting the very best from the coating material, getting it wrong can leave you with a coating that doesn’t meet the desired specifications and potentially a cause of failure.
But the curing process is often the least discussed aspect of coatings, with most literature focusing on the ideal coating and the features and properties it has. The curing process has several different aspects depending on the type of coating in question, and this also contributes to the time and temperature requirements.
What happens during curing?
The purpose of curing is to ‘set’ the coating, ensuring it is adhered to the substrate properly and is in the right chemical state to offer the resistances and protection it is designed to provide. This varies depending on the material used.
Powder Coating:
The most complex curing process is with powder coating materials, where there are several stages that the coating must go through to reach its final cured state. This process, known as a cure schedule, can be divided into 4 separate actions:
1: Melting
As the name suggests, this is where the coating is brought up to its melting temperature, which does vary depending on the type and even brand of powder coating being used. Even the speed at which the material is brought up to temperature can have an effect, and so manufacturers usually provide detailed information for use. During melting, the powder particles melt into a liquid state to form the coating over the object.
2: Flow Stage
Once melted, the powder coating needs to flow over the object or material to ensure that all areas have an even covering, with no areas missed or with lower levels of coverage. Here, the optimal temperature for flow, and the time that temperature is maintained are the important factors in ensuring the object is fully covered.
3: Crosslinking
Crosslinking is the chemical transformation in a thermoset coating that triggers the curing process, leaving it a permanent solid afterwards. This crosslinking doesn’t happen with thermoplastic coatings but is essential to powder coatings to deliver the protective performance required.
4: Curing
Finally, curing. Here there will be a specific temperature and time required to fully cure the material, after which it can be left to cool. For powder coatings, this is usually around 390°F (200°C), although this can vary considerably depending on the specific material being used.
Timing is especially important during the curing stage, as over-long or too short curing processes can have a huge impact on the coating’s abilities.
Liquid Coatings:
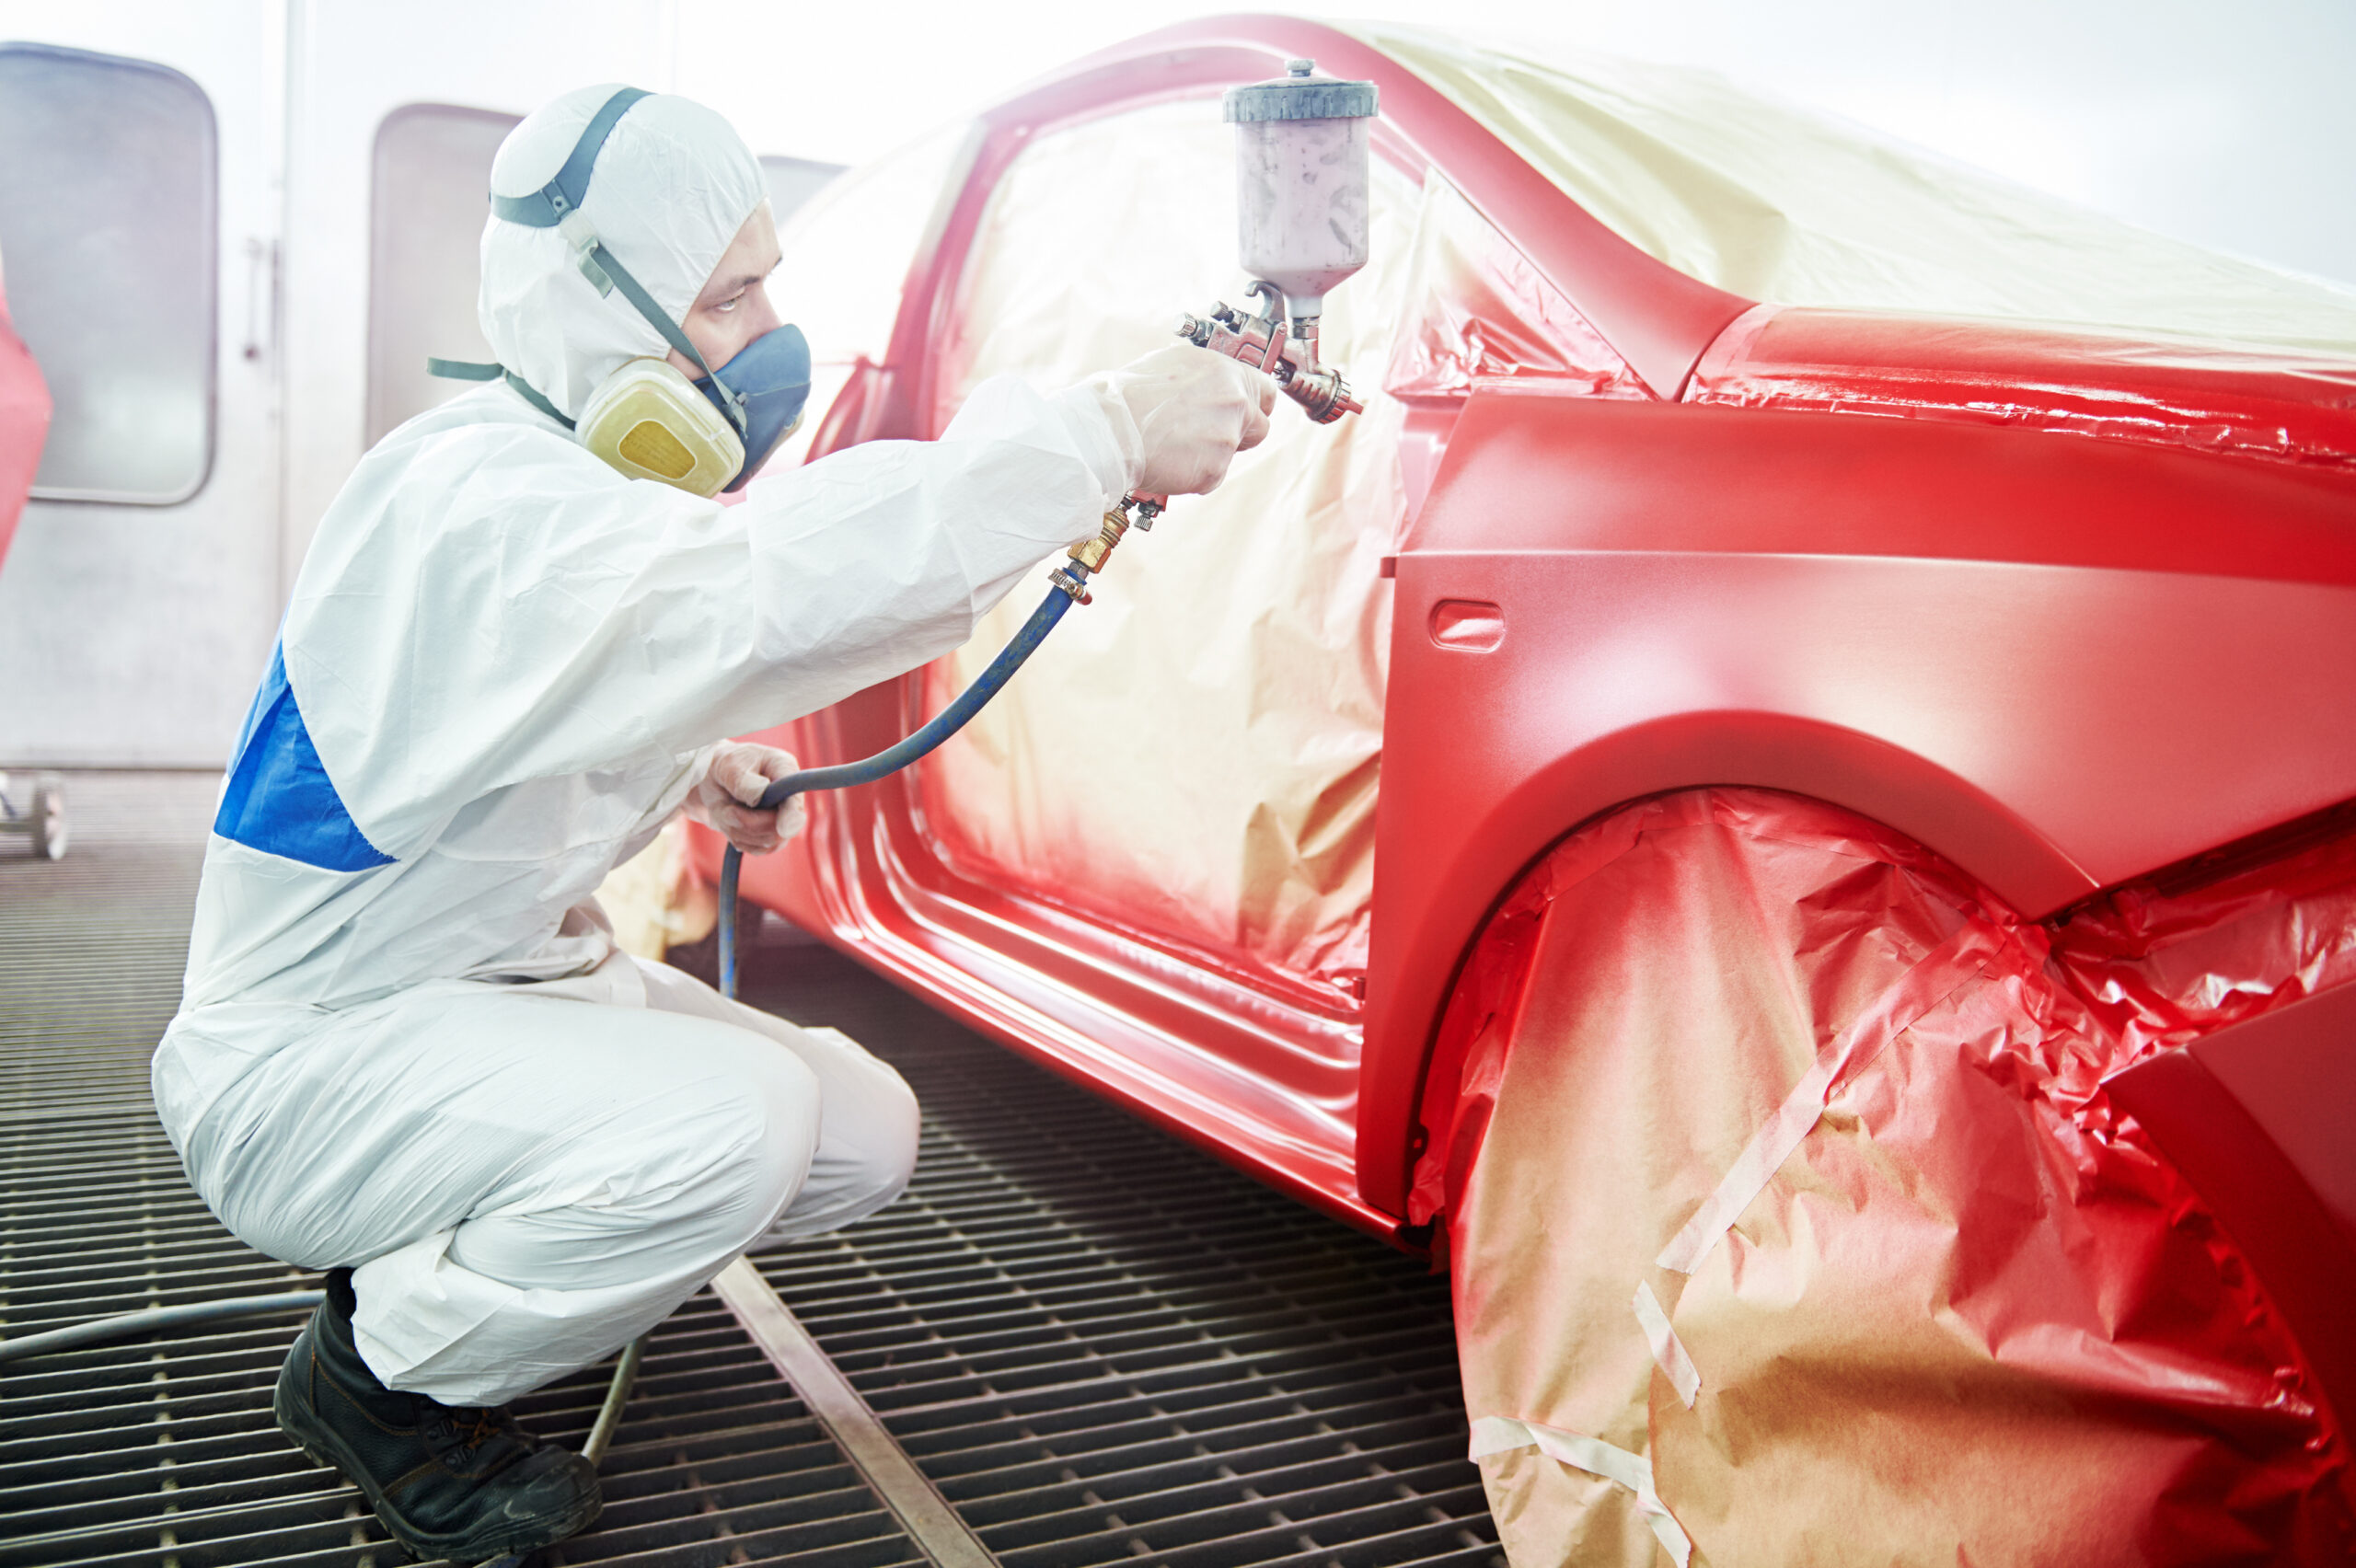
With liquid thermoset coatings, there are no melt or flow stages as powder coating requires, as this is taken care of in the application stage. Here there are just two stages, the crosslink and cure processes.
However, while the overall curing process is less complex than with powder-based materials, the timing and temperatures are just as crucial. Here, the time taken to raise the temperature to the required level for curing, the curing time itself and the cooling process can all impact overall coating performance.
Thermoplastic Coatings:
Thermoplastic coatings differ from thermosets in that even after curing they can be re-melted and reused. This is because there is no crosslinking during the curing process, so the chemical structure of the coating remains the same both in its liquid and cured states.
Here then, the curing process remains the simplest, requiring a specific temperature range to be reached for a varying amount of time. However, as with other curing processes, precision is still important. Failing to get the temperature levels or timings correct can lead to a number of different problems with the final coating, up to and including a complete failure of the product.
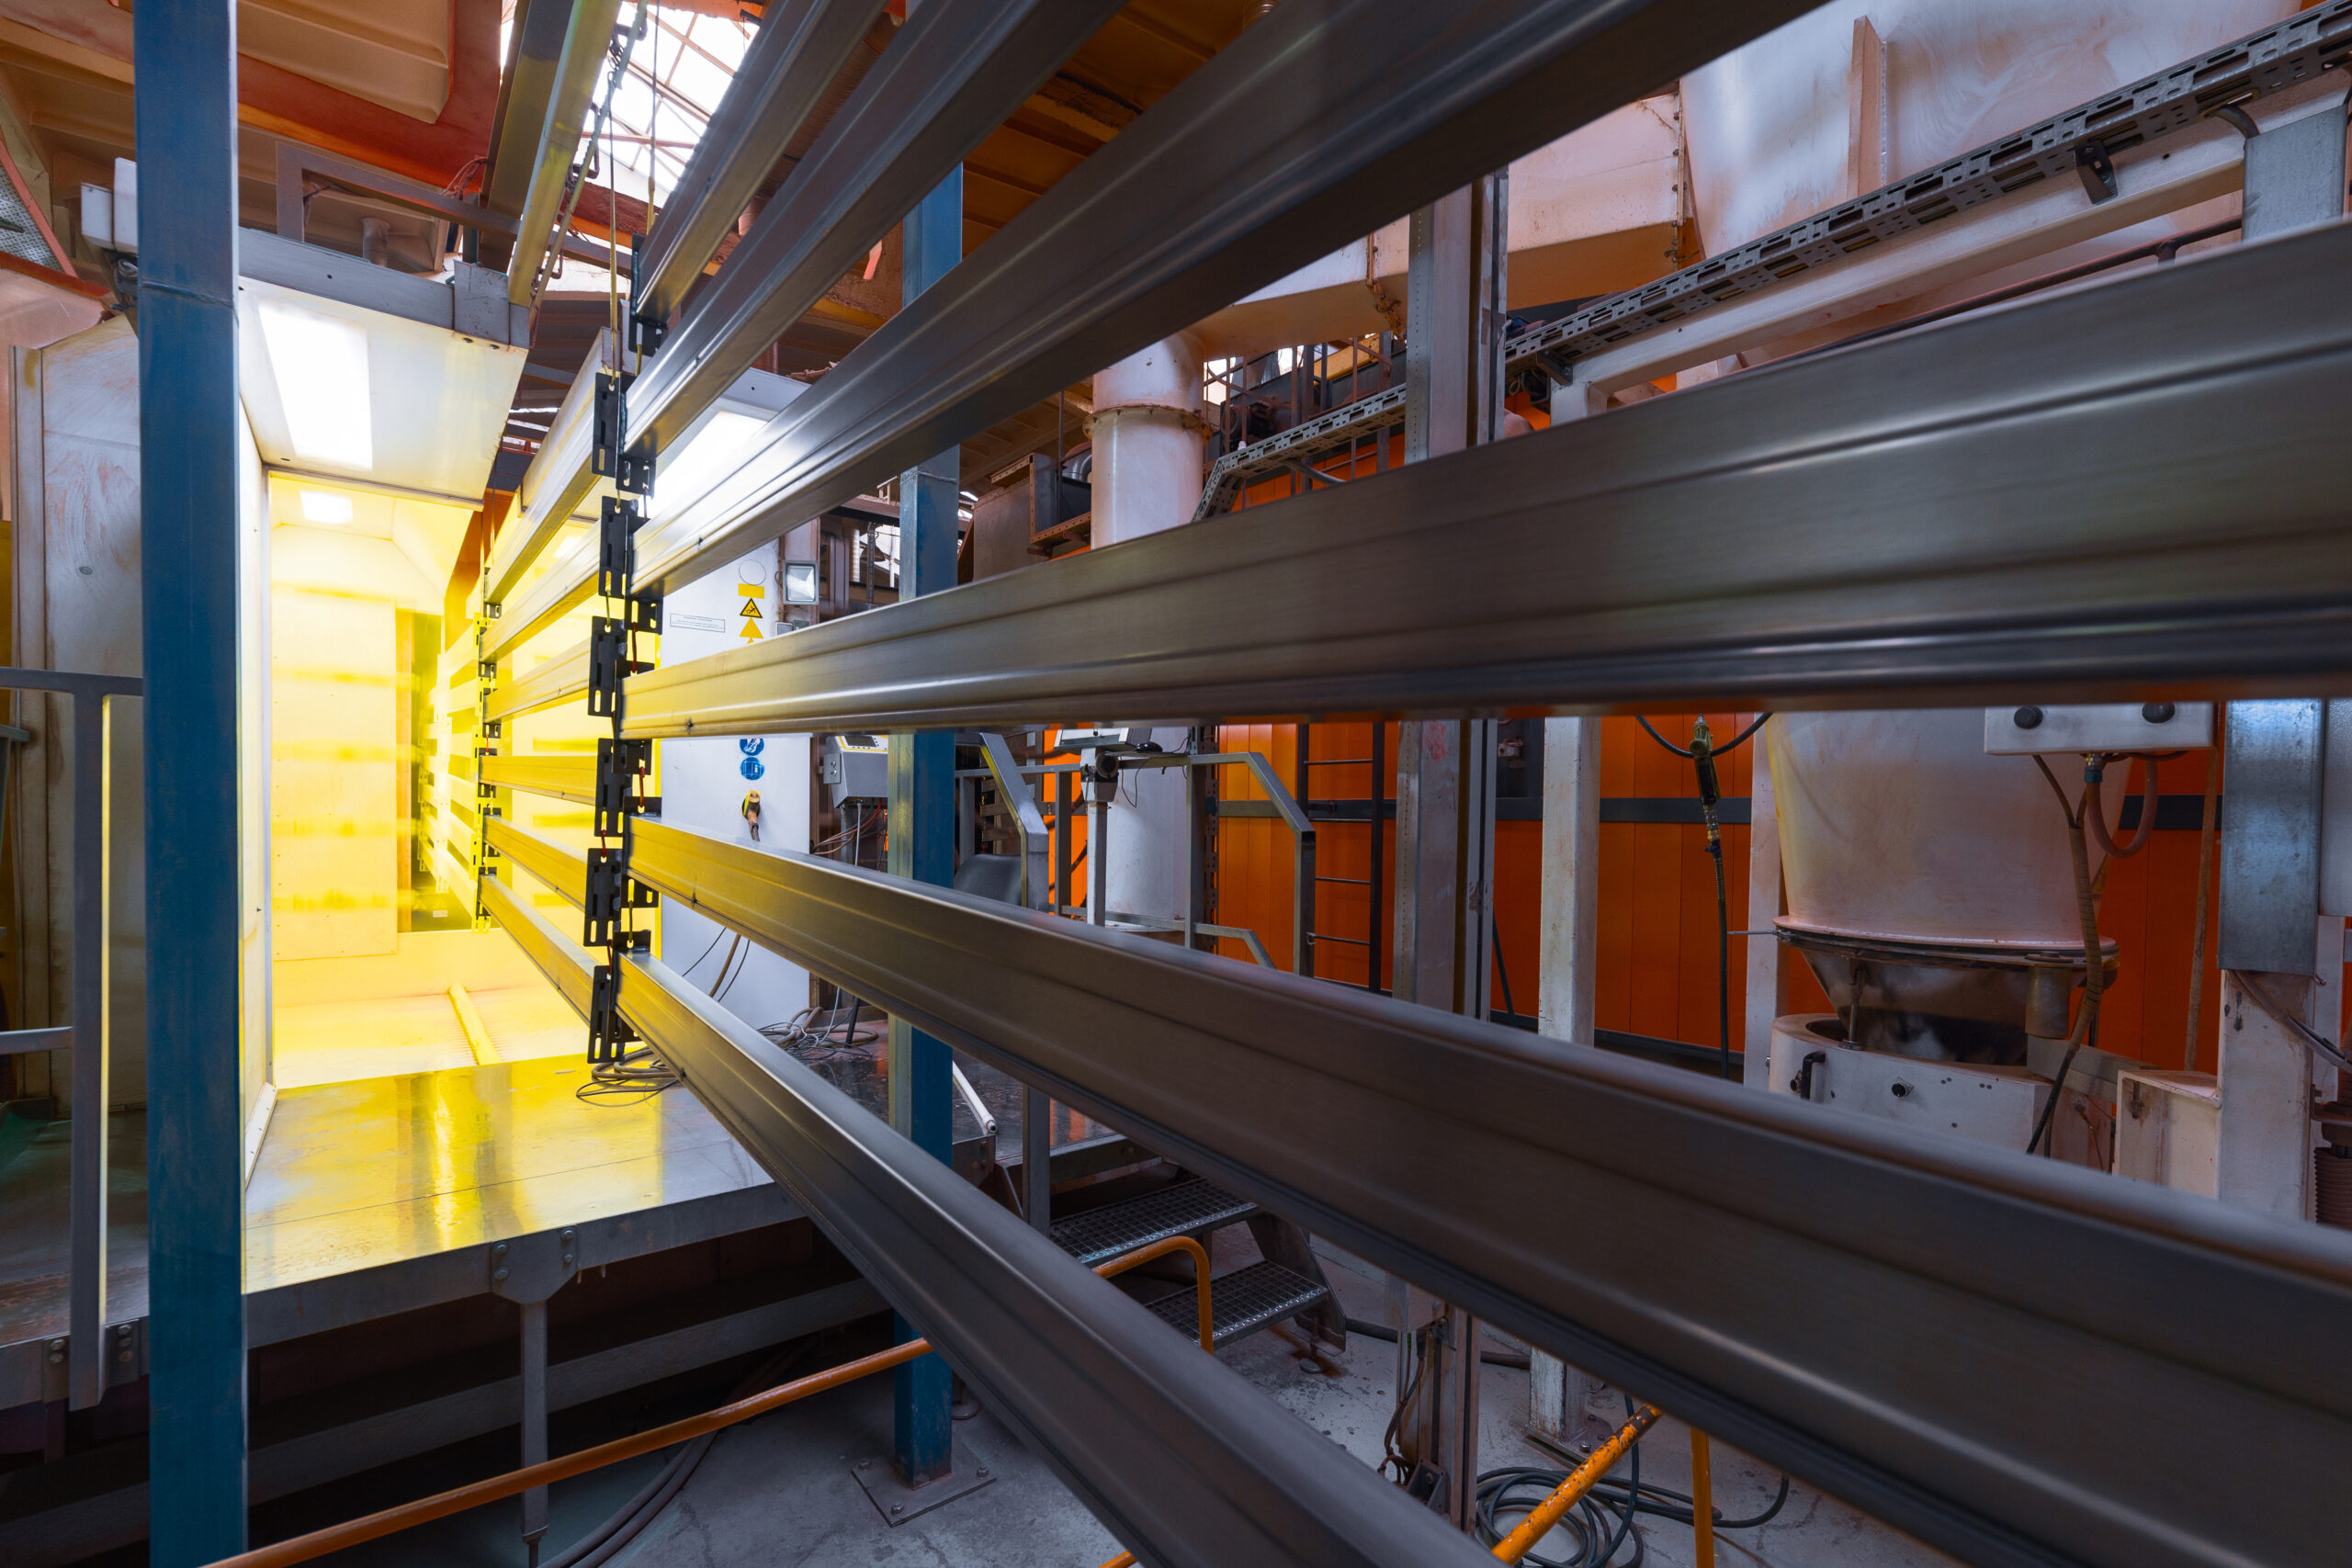
The Curing Oven
As you may imagine, the curing process requires delicate and precise control, and curing ovens offer both. Through the controls, precise temperatures can be set, including both speeds of temperature rises and falls. In addition, the length of time a temperature is held can be precisely set too, and for multi-stage curing such as with powders, this can include several temperature targets and timings in a single program.
The overall program of temperatures, durations it is held, speed of rise and fall of temperatures, and so on is known as a curing schedule. Modern curing ovens allow for even complex schedules to be fully automated to provide the perfect curing environment that can be repeated at will as often as is needed.
Why Do These Settings Matter?
The importance of having the right oven settings cannot be overstated. If they are wrong, a coating may even look fine once cooled, however, a temperature or timing problem at any stage of the curing can lead to a range of issues with the final product, many of which can mean the coating is simply unusable in the intended environment or will fail almost immediately and not provide the protection intended.
Issues cover every aspect of the coating performance, but include:
- Hardness
- Flexibility
- Impact Resistance
- Adherence
- Texture
- Color Stability
- Flow Properties
- Chemical Resistance
- Service Life
- Scorching
- Substrate Damage
- Orange Peel Finish
- Brittle
With the importance of temperature and timings so clear, getting it right is an essential part of the application process, rather than an afterthought. However, with modern ovens and the precision control they allow, through careful preparation and testing, curing schedules can be developed to deliver exceptional results consistently, even when integrated into a production line environment.

